5 Steps (& Warnings) to Make Your Slideshow Top Notch
With all the easy-to-use slideshow programs out there, many people are able to create photo and video montages who weren’t able to before. You’d think that with these movie-making magic programs available to the average Joe, anything you create will look like a big budget film. However, there is still a huge difference between a montage that looks like it was made by an amateur versus a professional. How can you make sure your presentation gives the quality impression that you want? If you’re willing to put in the effort instead of having a professional create your next slideshow-style presentation, you’ll want to pay heed to these five steps.
Audience Awareness (Length and Content)
Before you put together any type of video or presentation, you’ll want to determine who you are telling your story to. This will affect what type of content you use and the overall length of the montage. Family and friends are willing to watch longer and lesser-dynamic content. Grandpa and Grandma may love to watch your baby’s every little development, but your Facebook friends would appreciate only a highlight reel of their first year. Your office party may enjoy the collage that includes a photo of a manager asleep at his desk, but you want the video you share with your clients to show you on your A-game.

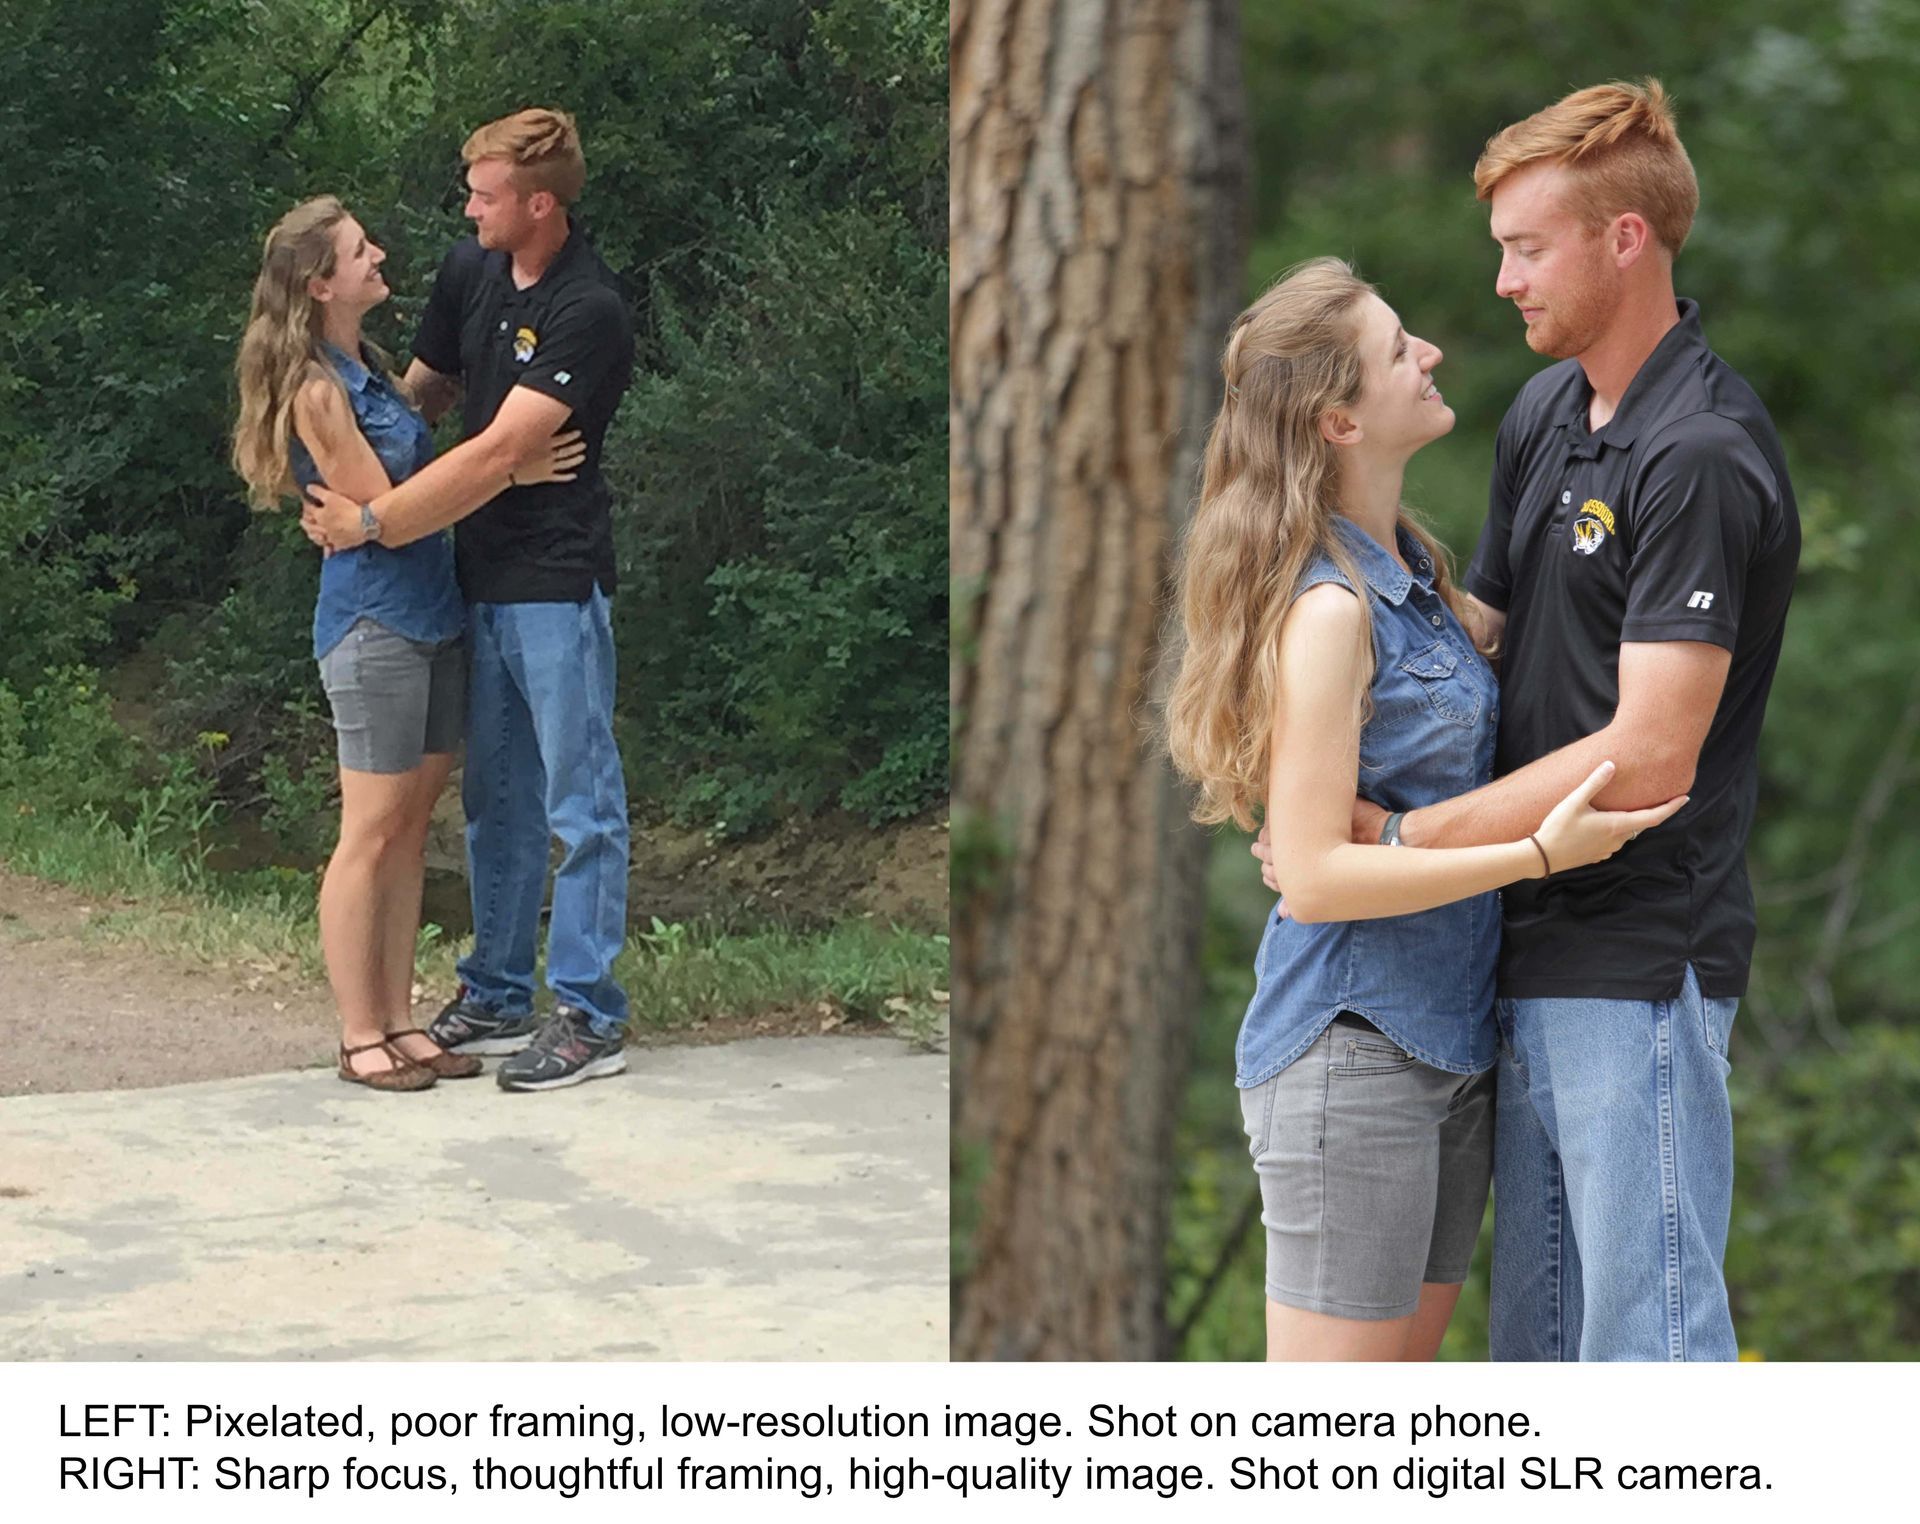
Image Quality (and Sound)
One of the biggest differences between a montage that looks professional instead of amateur is the quality of the images and sound. Thankfully, most cameras on phones today record with excellent quality. Yet the operator still needs to be careful about lighting, framing, and focus. Use the best equipment possible and shoot with thoughtfulness. Pay attention to distracting details in the background and extra noise on videos. Make sure to use large image sizes so that the show isn’t ruined by pixelated photographs once the montage is shown on large screens.
Easy on the Eyes (Timing and Camera Movement)
If you have a ton of great images and limited time to show them, what do you do? Speed up the video? No. The best way to trim time is to cut out the images that aren’t as strong in telling your story. Use only the best and clearest in communicating your point. Sometimes speeding up a segment does add to the story, but use fast motion thoughtfully. Jumping to the next picture on beat with the music can add to the strength of the presentation, but sometimes an image is too powerful to cut away from so soon. Also, be careful with camera movement. Instead of feeling edgy and like the viewer is right there, it can often be dizzying and leave you wishing you could readjust poor camera framing to let you actually see what’s happening.

Accessorize (Transitions and Graphics)
All too often someone shows a slide show of the great work their ministry, non-profit, or outreach is doing, but one can hardly watch to join in celebrating the good news—all because someone thought fancy motion would look cool and be exciting. Just like camera movement can give you a headache, so can crazy transitions. Too many busy transitions too quickly can distract the viewer from actually seeing the important content. Graphics and titles should be there to enhance the story. If the photos or videos are busy and cut quickly, keep the captions simple so that the viewer can both see the images and read the information.

The Sound of Music (and Audio)
Finally, make sure your sound enhances the images and message. If it’s just a photo montage, you can leave the music at a comfortable volume the whole time, but if a video includes important sound and dialogue, make sure to lower the background music to sufficient levels. Choose a music style that your intended audience won’t be irritated by or matches your brand essence. Remember to include artist attribution if using music that requires it. The right songs can turn a slideshow into an emotional experience, driving your message home.

As you go through putting your next slideshow together, make sure to go through each of the five steps. Check to make sure all the images tell your best story and that the length doesn’t wear out your viewers. Use the best possible images, that communicate quality and the beauty of your story. When zooming and cutting to different clips, make sure the viewer is encouraged to actually see what they are supposed to. Add transitions and captions that enrich the story and pace well. Finally, make sure any audio is audible and the music enhances the emotion you are trying to evoke. With these thoughtful steps taken, your presentation won’t look like a novice attempt, but will be able to communicate clearly.
Need ideas, direction, or a professional to take over your slideshow story? Check out our Photo/Video Montage segment or contact us with your questions.